现象
像往常一样,本地编写代码,推送到GitHub,浏览器打开对应的网站域名,准备验证新功能是否生效,然而没有看到预期的变化。
构建失败了?打开Vercel的控制台,查看Deployments列表,却发现没有生成新的部署任务。
于是又转回 GitHub,在项目主页,发现几分钟前的Commits后面有一个小红叉 ❌。
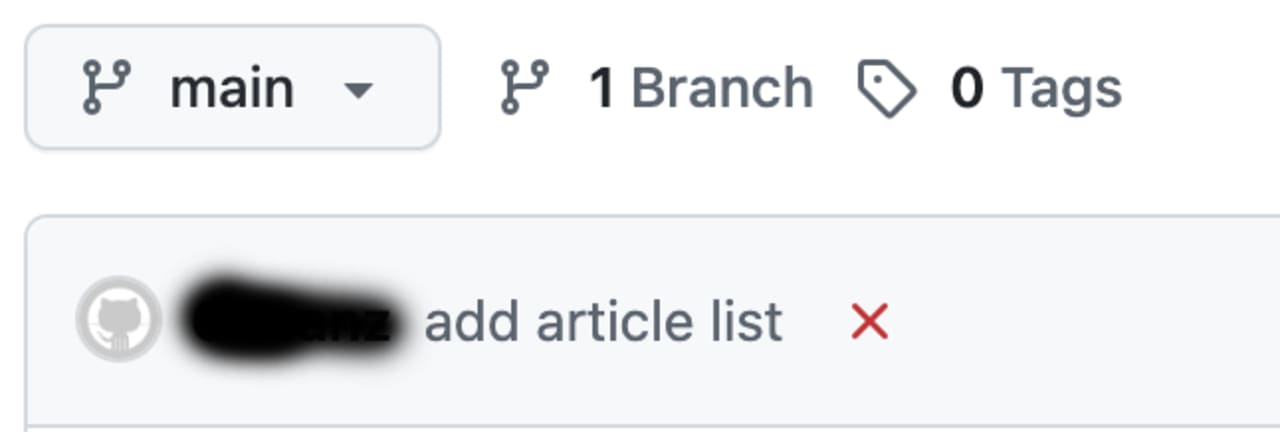
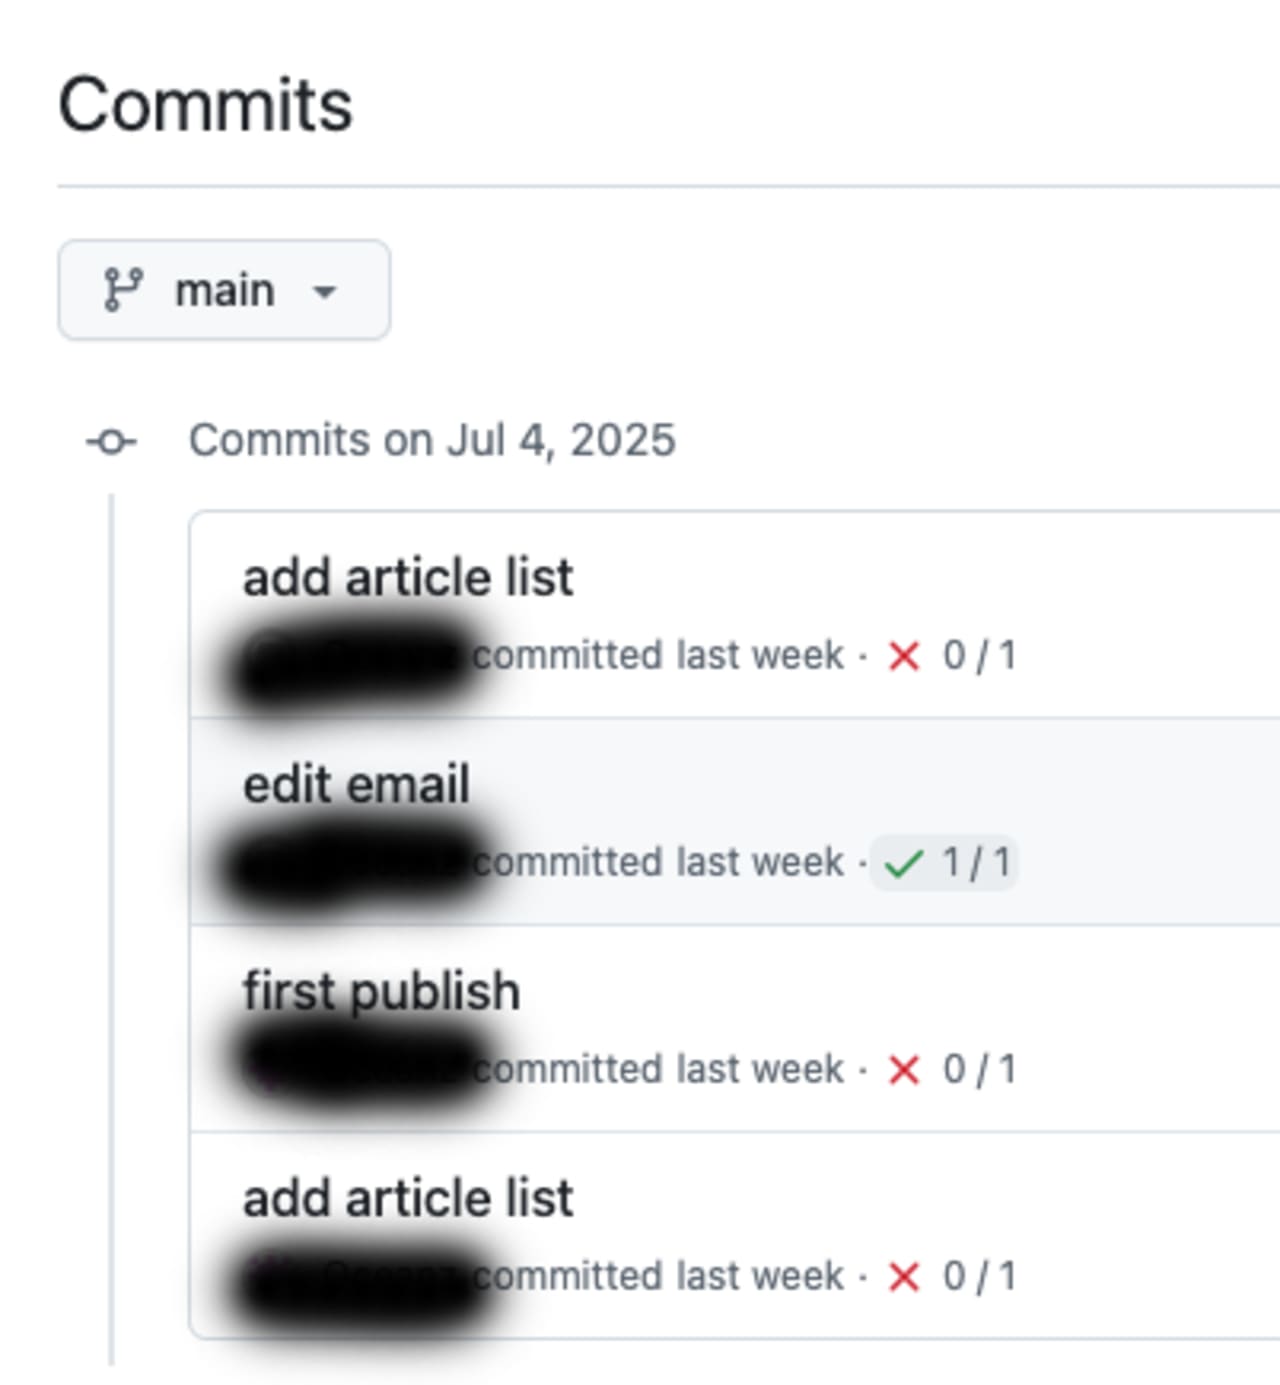
点击Commits历史记录,发现最近的提交构建都是失败的,但是,会有一次成功的构建。
点击小红叉 ❌,查看具体信息,提示:Vercel - No GitHub account was found matching the commit author email address
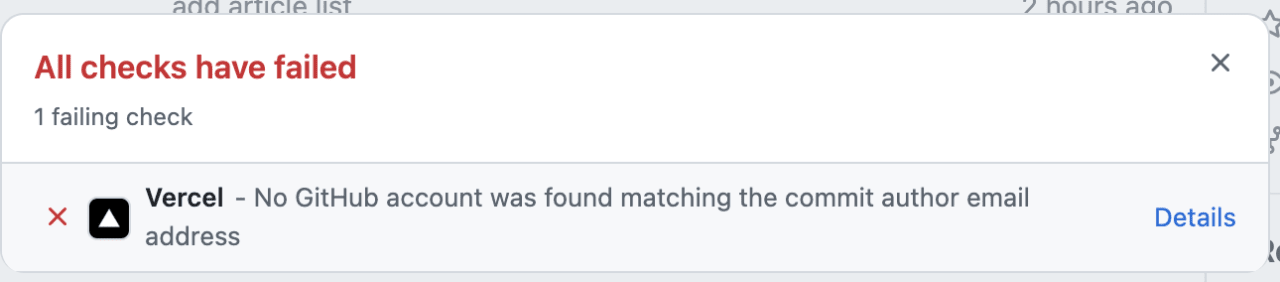
点击Detail详情时,跳转到GitHub的帮助文档,告诉你,需要设置commit的email地址。
You can use the git config command to change the email address you associate with your Git commits.
你可以使用 git config 命令来更改与你的 Git 提交关联的电子邮件地址。

The new email address you set will be visible in any future commits you push to GitHub from the command line.
你设置的新电子邮件地址将在将来从命令行推送到 GitHub 的任何提交中可见。

Any commits you made prior to changing your commit email address are still associated with your previous email address.
在你更改提交电子邮件地址之前进行的任何提交仍然与你之前的电子邮件地址相关联。
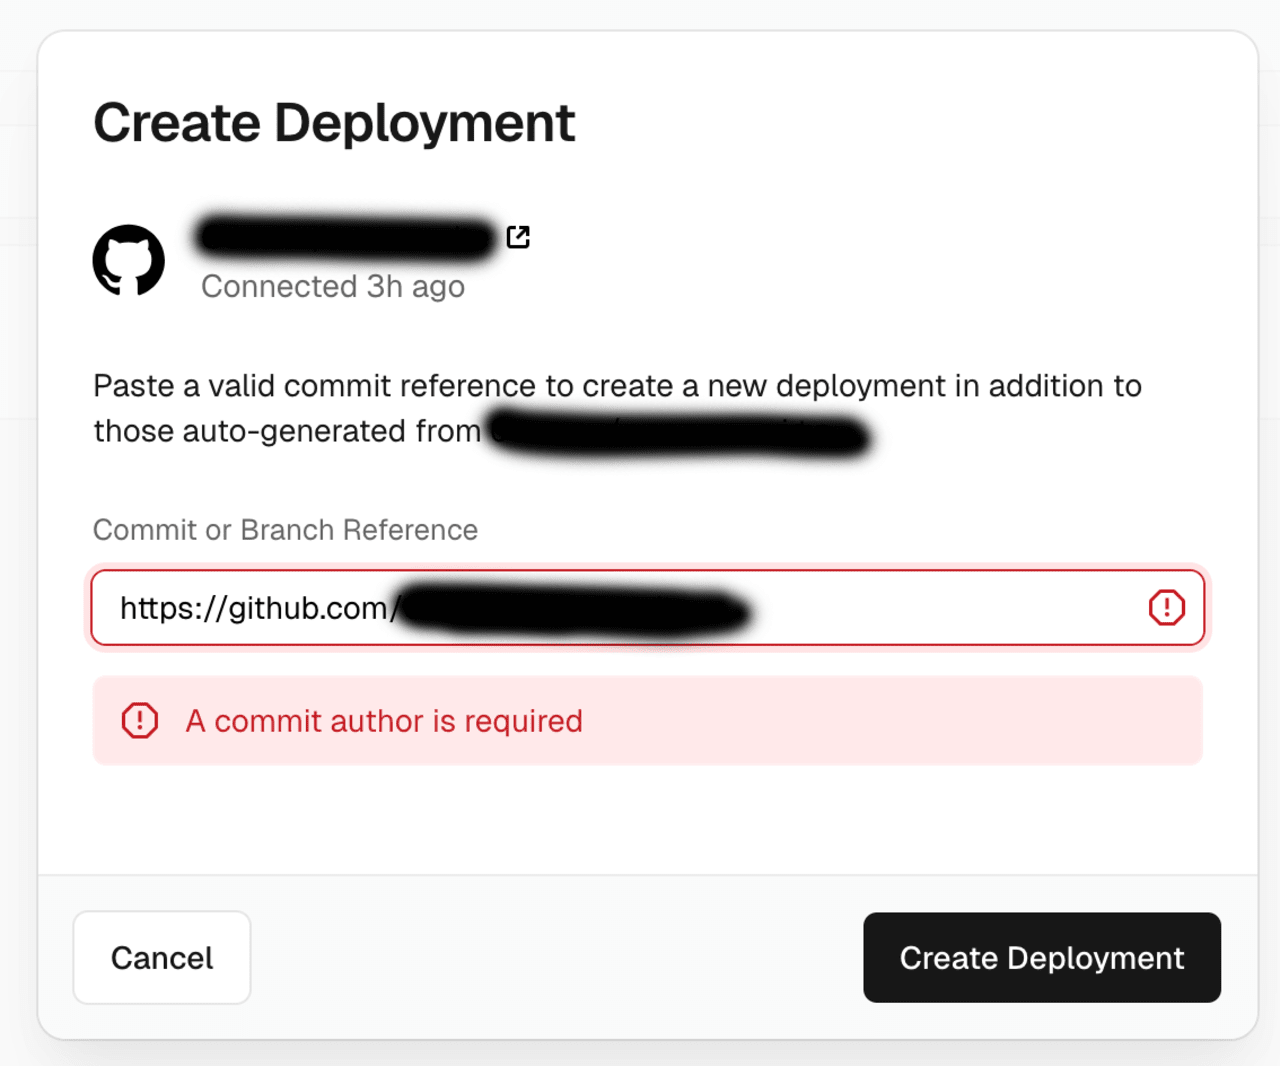
此时会感到困惑,于是又到Vercel网站上通过手动部署的方式,当输入对应的git仓库地址,点击部署时,提示:A commit author is required
原因
如果你碰到的情况和上面的描述差不多,那么需要确认以下事情:
- 是
Hobby Plan的用户吗? - 是不是有多个(至少两个)
Vercel账号? - 每个
Vercel账号是不是绑定了同一个GitHub账号?
如果以上条件都满足,那么问题就出在这里,Vercel的Hobby Plan限制了只能有一个第三方服务的登录连接,也就是只能有一个GitHub账号,查看官方文档的说明。
Your Hobby team on Vercel can have only one login connection per third-party service.
你的Hobby团队在Vercel上只能有一个第三方服务的登录连接。

For example, you can only log into your Hobby team with a single GitHub account.
例如,你只能通过一个GitHub账号登录你的Hobby团队。
在社区中,也有其他的朋友在讨论此事,也会有困惑:“虽然这简化了 Vercel 的工作,但却为我们这些开发者带来了工作流程上的复杂化,我们现在需要为每个项目创建单独的公司 GitHub 账户,并管理 SSH 密钥、Git 认证、电子邮件和用户名。此外,Git 客户端和集成开发环境(IDE)也需要为个人和公司 GitHub 账户进行双重设置。”
此外,如果借助一些AI工具咨询该问题,可能会得到这样一种建议:“将 Git 的提交邮箱设置为与你的 Vercel 账号绑定的邮箱”,即需要保证仓库配置的Git提交邮箱需要和Vercel账户邮箱保持一致,同时,给出让你在该仓库配置邮箱的相关命令。
当尝试过这个做法。起初,它看起来真的有效——修改 Git 配置,把原来用于保护隐私的 GitHub 分配邮箱(如:[email protected])替换成了在 Vercel 注册时使用的邮箱,随后再推送代码,构建居然成功了。
但这个方法的效果只维持了一次。在后续的提交中,构建又再次失败,依旧提示:
No GitHub account was found matching the commit author email address.
这也是为什么上面的图片中,有一次是构建成功的绿色对号 ✅。
但是这不是最终的解决方式,还会引入更多的隐患:
- ❌ 暴露原本隐藏的邮箱地址,泄露隐私;
- ❌ 构建行为不稳定,成功一次后又失败,原因更难排查。
解决方式
自定义部署流程
适用于:
- 只想用一个 GitHub 账号部署多个 Vercel 项目;
- 在用多个 Vercel 账号对接同一个 GitHub 账号;
- 不想暴露源码给 Vercel,只上传构建产物;
- 不使用 GitHub/Vercel 的默认集成,而是用 CLI 全流程控制部署。
前提条件:
- 已安装
Node.js和npm - 已安装
Git(如用作版本控制) - 已注册
Vercel账号 - 已安装并登录
vercel CLI - 本地项目已构建成功(支持
Next.js、React、Vue等)
步骤
- 安装
vercel CLI
如果网络条件较差,可以在终端临时启用淘宝的npm镜像:
# 该方式仅在当前终端生效
export NPM_CONFIG_REGISTRY=https://registry.npmmirror.com
npm install -g vercel@latest- 登录
Vercel
# 命令
vercel login
# 1. 选择登录方式
Vercel CLI 44.4.0
? Log in to Vercel (Use arrow keys)
❯ Continue with GitHub
Continue with GitLab
Continue with Bitbucket
Continue with Email
Continue with SAML Single Sign-On
─────────────────────────────────
Cancel
# 2. 选择邮箱登录
? Log in to Vercel Continue with Email
? Enter your email address:
# 3. 等待确认
We sent an email to [email protected]. Please follow the steps provided inside it and make sure the security code matches Sparkling Dachshund.
⠋ Waiting for your confirmation
# 4. 登录成功后提示
> Success! Email authentication complete for [email protected]
Congratulations! You are now logged in. In order to deploy something, run `vercel`.
💡 Connect your Git Repositories to deploy every branch push automatically (https://vercel.link/git).如果使用的是Google邮箱,可以使用Continue with Email,输入注册Vercel的邮箱,打开浏览器邮箱,收到验证邮件,打开邮件中的链接,并输入邮件中的验证码,浏览器会自动重定向到终端,完成登录。

? Log in to Vercel email
? Enter your email address: [email protected]
We sent an email to [email protected]. Please follow the steps provided inside it and make sure the security code matches Pragmatic Arctic Fox.
⠇ Waiting for your confirmation关于Vercel CLI 登录的说明
- 跨终端会话有效:登录后生成的 token 会保存在本地配置中,即使关闭终端重新打开,登录状态依然有效;
- 全局生效:在任何目录下使用 Vercel CLI 都会使用同一个登录状态;
- 长期有效:token 不会立即过期,可以持续使用;
Token 过期机制:
- 如果 10 天内没有使用 Vercel CLI,token 会自动过期;
- 过期后会看到错误信息:
Error! The specified token is not valid; - 需要重新运行
vercel login来获取新的 token;
保持登录状态的方法:
- 至少每 10 天使用一次 Vercel CLI 命令;
- 任何 Vercel CLI 命令都可以重置这个 10 天的计时器;
- 创建
token
访问https://vercel.com/account/settings/tokens,点击Create Token,输入Token Name,点击Create,创建一个用于部署的Token。
出于安全原因,Token需要单独保存,Vercel只在创建的时候展示,后续无法查看。
⚠️ 注意:不要将 VERCEL_TOKEN 提交到 Git 仓库。建议使用 .env 配合 .gitignore 管理。
- 关联项目
关联本地目录到Vercel Project,vercel link 是将当前目录与远程项目绑定的关键步骤。
vercel deploy 如果未事先执行 vercel link,会引导新建项目或选择项目范围,可能导致错误关联或重复项目创建。
# 命令
vercel link
# 输出
Vercel CLI 44.4.0
# 1. 确认本地目录
? Set up “local-directory”? yes
# 2. 你的项目应该包含在哪个范围(或哪个作用域)内?选择你需要链接的project
? Which scope should contain your project? xxx projects
# 3. 链接现有的工程,yes
? Link to existing project? yes
# 4. 输入`vercel project`命令
? What’s the name of your existing project? xxx
✅ Linked to xxx (created .vercel)在.vercel中的project.json,可以看到映射信息;
- 从远程拉取相关配置
在项目根目录执行如下命令,vercel pull 是将远程项目配置和环境变量同步到本地的关键命令。
# 命令
vercel pull --yes --environment=preview --token=your-token
# 输出
Vercel CLI 44.4.0
> Downloading `preview` Environment Variables for xxx
✅ Created .vercel/.env.preview.local file [290ms]
> Downloading project settings
✅ Downloaded project settings to ~/xxx/.vercel/project.json [0ms]覆盖本地的project.json,注意.vercel不应该提交到源代码服务器;
- 构建本地产物
# 命令
vercel build --token=xxx
# 输出
Vercel CLI 44.4.0
...
Done in 974ms using pnpm v10.13.0
Detected Next.js version: 15.3.4
Running "pnpm run build"
> [email protected] build /xx
> next build
▲ Next.js 15.3.4
- Environments: .env.production
Creating an optimized production build ...
...
...
○ (Static) prerendered as static content
● (SSG) prerendered as static HTML (uses generateStaticParams)
Notice: detected `next export`, this de-opts some Next.js features
See more info: https://nextjs.org/docs/advanced-features/static-html-export
✅ Build Completed in .vercel/output [2m]在本地进行构建,同时会在.vercel中创建output目录;
- 部署预览版本
# 命令
vercel deploy --prebuilt --token=xxx
# 输出
Vercel CLI 44.4.0
🔍 Inspect: https://vercel.com/xxx [6s]
✅ Production: https://xxx.vercel.app [6s]
2025-07-11T12:43:40.938Z Running build in Washington, D.C., USA (East) – iad1
2025-07-11T12:43:40.939Z Build machine configuration: 2 cores, 8 GB
2025-07-11T12:43:40.953Z Retrieving list of deployment files...
2025-07-11T12:43:41.064Z Previous build caches not available
2025-07-11T12:43:41.283Z Downloading 111 deployment files...
2025-07-11T12:43:42.292Z Using prebuilt build artifacts...
2025-07-11T12:43:42.325Z Deploying outputs...
📝 Deployed to production. Run `vercel --prod` to overwrite later (https://vercel.link/2F).
💡 To change the domain or build command, go to https://vercel.com/xxx/settings会创建一个Preview版本的发布,可以在Vercel部署
- 部署正式版本
vercel --prod会部署生产环境,同时在Deployment会有一条部署记录;
📜 **package.json 脚本化部署
在前面已经完成所有配置后,为了长期使用方便可以讲build和deploy命令放在在 package.json 中,便于后期长期使用:
{
  "scripts": {
    "vercel:deploy": "vercel build && vercel --prod"
  }
}
以上就是通过Vercel CLI来规避GitHub账号绑定的问题,不依赖于第三方的CI/CD Provider。
可以继续使用相同的GitHub账号来管理源代码。
如果希望push的时候,可以自动部署,需要在集成DevOps 平台;
另外,如果还是希望集成GitHub提交时的自动部署,可能需要再单独注册一个GitHub账号,来分别绑定不同的Vercel账户,同时本地需要对SSH Key
之类的进行管理。